

Ever thought about turning a pile of plywood into a sleek rowboat in your garage? Building a boat at home might seem daunting, but it’s doable with the right help. Even beginners can make their own wooden boat.
Building a boat yourself needs careful planning and the right materials. The stitch and glue method makes it easier for those with basic woodworking skills.
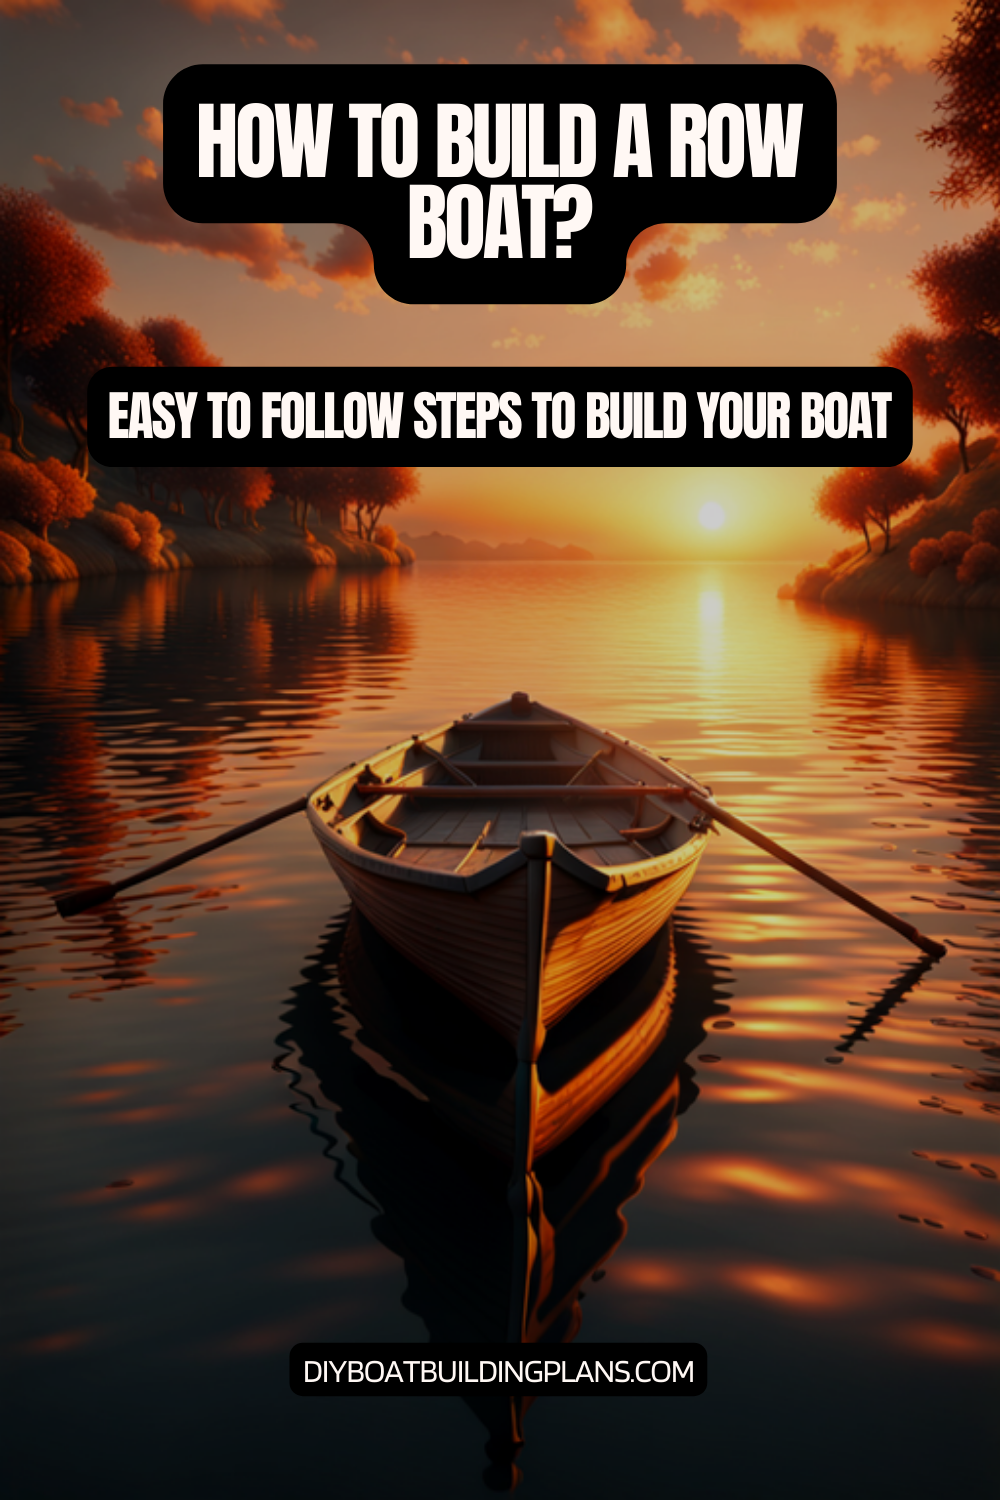
This guide will show you how to make a 12-foot rowboat. It’s not just a boat; it’s a showcase of your creativity and skills. You’ll learn about choosing the right plywood and understanding weight calculations.
Key Takeaways – How To Build a Row Boat
- Understand the basic requirements for DIY boat construction
- Learn the stitch and glue wooden boat building technique
- Select appropriate materials for durability and performance
- Master safety precautions during home boatbuilding
- Develop skills to create a functional and beautiful rowboat

Understanding the Basics of Row Boat Construction
Starting a row boat project is exciting for anyone who loves building things. It’s a chance to make something beautiful and useful.
There are many types of row boats, each with its own charm. Let’s look at what makes them special.
Types of Row Boats
Builders have many designs to choose from:
- Stitch and Glue Boats
- Traditional Wooden Boats
- Modern Composite Designs
- Flat-Bottom Boats
Key Materials for Boat Building
Choosing the right materials is key for a good project. Here are the basics:
| Material | Purpose | Recommended Grade |
|---|---|---|
| Marine-Grade Plywood | Hull Construction | Exterior Quality |
| Epoxy Resin | Waterproofing | Marine-Grade |
| Fiberglass Tape | Reinforcement | Heavy Weave |
| Wooden Frames | Structural Support | Rot-Resistant Wood |
Essential Tools for the Job
For good boat building, you need the right tools:
- Circular Saw
- Power Drill
- Clamps
- Sandpaper (Various Grits)
- Measuring Tape
“The right tools and materials make all the difference in boat building.” – Experienced Boat Builder
Pro tip for amateur shipwrights: The stitch and glue method uses plastic or copper wire. It’s great for beginners because it makes building easier.
Planning Your Row Boat Design
Creating small boat plans needs careful thought and preparation. Building a boat in your backyard is an exciting start. It begins with knowing your design goals and what you can do.
Choosing the Right Size
Choosing the right boat size is important. It depends on several things:
- What you plan to use it for (fishing, fun, exercise)
- How much space you have
- Your building skills
- Where you’ll store it
Popular designs like the Kingfisher and Sea Midge meet different needs. A 12-14 foot boat is a good size for beginners.
Sketching Your Design
For your design, use these tools:
- A 4-foot straight edge ruler
- A tape measure
- A PVC pipe for curves
- Graph paper for detailed drawings
“A well-planned design is the foundation of a successful boat build.” – Traditional Boatbuilding Wisdom
Considering Weight Capacity
Weight capacity is key for safety and performance. To figure it out, think about:
- How many people will be on it
- What you’ll carry
- The boat’s strength
- US Coast Guard rules
Try to make a design that’s stable, fast, and useful for fun on the water.
Unlock the secrets to building your dream boat with MyBoatPlans! With detailed plans for over 518 boats and expert video tutorials, you’ll have everything you need to create your perfect vessel. Click here to begin your journey!
Preparing Your Workspace
Starting a home boatbuilding project means setting up the right space. Your workspace is key to the whole process. It affects the quality of your boat.
When setting up your workspace, think about safety and efficiency. Here are some important tips:
Essential Safety Precautions
- Choose a well-ventilated area like a garage or outdoor space
- Use protective gear:
- Safety glasses
- Chemical-resistant gloves
- Respirator mask
- Cover work surfaces with polyethylene sheeting
- Keep a fire extinguisher nearby
Organizing Tools and Materials
Keeping things organized is vital for smooth construction. Here’s how to manage your supplies:
| Category | Recommended Setup |
|---|---|
| Work Surface | Clean, flat area with good lighting |
| Tool Storage | Pegboard or tool chest with labeled sections |
| Material Placement | Organized shelving with material types grouped together |
“Preparation is 90% of successful boat building. A well-organized workspace can make the difference between a frustrating project and an enjoyable experience.” – Experienced Boat Builder
Pro tip for home boatbuilding: Pre-cut materials and organize them before starting. This makes your construction process smoother. It helps you stay focused during important building stages.
Building the Hull
Building a wooden boat needs precision and skill. The hull is key to your boat’s performance and strength. Knowing how to build a boat helps make a sturdy watercraft.
The stitch and glue method has changed boat building for DIY fans. It mixes old woodworking skills with new materials for strong, light boats.
Cutting Wood Pieces with Precision
Starting with accurate wood cutting is vital. For your wooden boat, you’ll need:
- 5 ply 1/4″ exterior plywood
- Circular saw for straight cuts
- Jigsaw for curved sections
- Measuring tape and pencil
Assembling the Frame
Building the frame needs careful attention. The stitch and glue method uses:
- Copper wire or plastic ties
- Temporary screws
- Epoxy for permanent bonding
Waterproofing Techniques
Keeping your wooden boat dry is key. Here’s how to waterproof it:
| Material | Quantity | Purpose |
|---|---|---|
| Epoxy Resin | 1.5 gallons | Primary sealing |
| Fiberglass Cloth | 8 yards | Reinforcement |
| Primer | 1 can | Final protective layer |
“A well-built hull is the heart of any successful wooden boat.” – Traditional Boatbuilding Wisdom
Pro tip: Use multiple epoxy layers for a tight seal. Adding foam for extra safety and stability is a good idea.
Adding the Gunwales
Gunwales are key in wooden boat building. They act as the main support, connecting and strengthening your DIY boat. These strips of hardwood run along the top of the hull, shaping the boat’s form.
Selecting the Right Gunwale Material
When picking materials for gunwales, keep these points in mind:
- Quarter-sawn cherry: Easier to bend and more durable
- Hardwood strips: Provide maximum strength
- Marine-grade plywood: A cost-effective option
“The gunwales are not just decorative—they’re the critical structural element that ties your boat together.” – Traditional Boat Building Expert
Attaching Gunwales with Precision
Attaching gunwales right is vital in wooden boat building. Here’s how to do it securely:
- Measure and cut gunwales with slight overhang at bow and stern
- Use No. 8 x 1 1/4″ oval head screws at each rib station
- Apply marine-grade epoxy for extra strength
- Use multiple clamps (around 30) to ensure proper alignment
Building a DIY boat needs patience and precision. Seal your gunwales with multiple epoxy or varnish coats. This protects against water damage and UV exposure.
Making the Bottom Support
Building the bottom support is key in home boatbuilding. It affects your row boat’s strength and how well it moves. The bottom structure keeps the boat’s shape and makes sure it doesn’t leak.
When building a boat, planning the bottom support is vital. The stitch and glue method is great for making a strong base.
Designing the Bottom Structure
Choosing the right bottom structure is important. You need to think about a few things:
- Use high-quality marine-grade plywood
- Make sure measurements are exact
- Think about how to distribute weight
- Plan where to add extra support
“A well-designed bottom is the backbone of any successful boat design.” – Wooden Boat Magazine
Attaching the Bottom Panel
Attaching the bottom panel needs to be done carefully. The stitch and glue method involves these steps:
- Cut plywood panels with extreme accuracy
- Use plastic wire ties for temporary stitching
- Apply epoxy fillets along all seams
- Reinforce with fiberglass tape
- Ensure complete seam coverage
Pro tip: Add a keel strip for improved tracking and protection when beaching your boat. Experts say to fill all gaps with epoxy putty. This makes your boat strong and leak-free.
Download over 500 Boat Plans. Click on the link below.
-->Click Here<--
Constructing the Seats
Building comfortable seats is key in DIY boat construction. Wooden boats need seats that are both comfy and stable for rowing.
Seat Placement Strategy
When making seats for your wooden boat, where you place them matters a lot. It affects balance and how well you row. Here are some tips for beginners:
- Position seats to distribute weight evenly
- Allow enough space for rowing movement
- Make sure there’s good space between seats
Building Comfortable and Functional Seats
To make sturdy and comfy seats for your DIY boat, follow these steps:
- Choose marine-grade plywood (1/4 inch thick is best)
- Use hardwood battens for extra support
- Make the frame a bit wider than the seat
- Round the edges for better comfort and safety
“The right seat can transform your rowing experience from uncomfortable to enjoyable.” – Wooden Boat Building Expert
For beginners, adding storage under seats is a great idea. Use epoxy or marine varnish to protect the wood from water.
Adding foam cushions can make rowing more comfortable. Remember, seats are about both function and fun.
Finishing Touches
Finishing your wooden boat needs careful attention. The last steps turn a raw craft into a polished vessel. It’s now ready for water adventures.
Sanding and Smoothing the Surface
Proper sanding is key in preparing your boat. Start with coarse-grit sandpaper (80-grit) and move to finer grits (120, 220) for a smooth finish. Aim to remove any imperfections and rough edges.
- Use a long sander (approximately 4 ft) for efficient surface preparation
- Sand in consistent, smooth motions
- Remove all dust between sanding stages
- Check surface evenness with your hand
Applying Paint or Varnish
Protection and looks are important in wooden boat building. Choose marine-grade paint or varnish for durability and weather resistance.
| Coating Type | Recommended Layers | Drying Time |
|---|---|---|
| Marine Varnish | 3-4 coats | 24 hours between coats |
| Marine Paint | 2-3 coats | 12-16 hours between coats |
“A well-finished boat is a reflection of the builder’s skill and passion.” – Master Boat Builder
Remember to sand lightly between coats for a top-notch finish. Add non-slip surfaces to seats and floor for safety during rowing.
Installing Oar Locks
Oar locks are key in DIY boat making. They can greatly affect your rowing experience. As a beginner, knowing how to install oar locks is essential for a good boat.
Good boat making means thinking about oar lock placement. Where you put these parts can change how well you row and how the boat performs.
Understanding Oar Lock Placement
When picking where to put oar locks, keep these points in mind:
- Distance from the rower’s seat (usually 14 inches from the back)
- Boat width (keep it under 4 feet between oar locks)
- Rowing comfort and leverage
Securing the Oar Locks Properly
To install oar locks right in your boat project, follow these steps:
- Pick marine-grade hardware for lasting quality
- Use waterproof sealant at mounting points
- Strengthen the area with plywood or hardwood blocks
- Think about having more than one oar lock spot for flexibility
Pro tip: Bolt oar locks onto the outside of the gunwale for maximum strength and stability.
Experts say use top-notch materials like Old Town Canoe bolt-on oar locks. Or look into other mounting options like gate hinges for more choices.
Remember, installing oar locks right is key for safe and fun rowing. Take your time, measure well, and focus on making the boat strong in your DIY project.
Testing Your Row Boat
As you finish your DIY boat project, testing is key. Make sure you’re safe first. Choose a calm, shallow spot to test your rowboat’s performance and stability.
Start with safety in mind. Wear a life jacket, carry spare paddles, and a bailer. Test the boat with different weights to see how it handles. Look for leaks, tracking issues, or balance problems that need fixing.
Test how the boat moves with different rowing styles and speeds. Notice how the hull reacts to your movements and weight. If it’s unstable, add a ballast or adjust the seats for better performance. Your careful testing will make sure you have a safe and fun rowing experience.
Water Safety Tips
Always put safety first on your first trip. Wear a life jacket, carry a phone, and tell someone where you’re going. Check the weather and local rules before you go out on your new rowboat.
Stability Testing Techniques
Do stability tests by slowly moving weight and watching how the boat reacts. Start in shallow water, then try rowing. Note any changes needed for better performance and safety.
Post-Testing Adjustments
Use what you learn to make small changes to your rowboat. You might need to tweak the gunwales, seats, or add supports. Your careful work will turn your DIY project into a reliable and fun boat.
FAQ – How To Build a Row Boat
How long does it take to build a row boat at home?
Building a row boat at home takes time, depending on your skill and design complexity. Beginners using the stitch and glue method can expect 100-200 hours over 4-6 weeks. This includes planning, cutting, assembling, and finishing.
What is the most beginner-friendly row boat design?
The FL12 is great for beginners. It’s 12 feet long, needs only four plywood sheets, and uses the stitch and glue method. This method is easier for new builders.
How much will it cost to build a row boat at home?
Costs range from $500 to $1,500, based on materials. You’ll need plywood, epoxy, fiberglass tape, and hardware. Saving money is possible by choosing affordable materials and tools.
Do I need specialized woodworking skills to build a row boat?
You don’t need to be a pro at woodworking. The stitch and glue method is forgiving for beginners. Basic tool skills are enough. Many first-timers complete their boat with detailed plans.
What safety equipment do I need for building and using my row boat?
For building, use safety masks, glasses, gloves, and protective clothes with epoxy. For using, have life jackets, a bailer, paddles, and a first aid kit. Always follow US Coast Guard safety rules.
Can I use my homemade row boat in different water conditions?
Your boat’s design and build affect its performance. Most DIY boats are good for calm lakes, slow rivers, and sheltered coasts. Avoid rough waters until you’re sure of your boat’s stability and your rowing skills.
How do I maintain my homemade row boat?
Keep it clean after use, store it in the shade, and check for damage. Apply marine varnish yearly. Inspect seams, gunwales, and oar locks for wear or water issues.
What tools are absolutely essential for building a row boat?
You’ll need a circular saw, drill, clamps, sandpaper, measuring tape, and a straight edge. Also, epoxy mixing buckets, a hammer, and screwdriver. A well-ventilated workspace is key for building.
How do I calculate the weight capacity of my row boat?
Capacity depends on design, materials, and build. A 12-foot wooden boat can hold 2-3 adults or 400-500 pounds. Always check your boat plans for exact calculations.
Can I customize the design of my row boat?
Yes! You can modify plans for your needs after gaining experience. Changes can include seat setups, storage, or hull shape adjustments. Just make sure they don’t harm the boat’s structure.